How I Design And Build a Loudspeaker Page 2
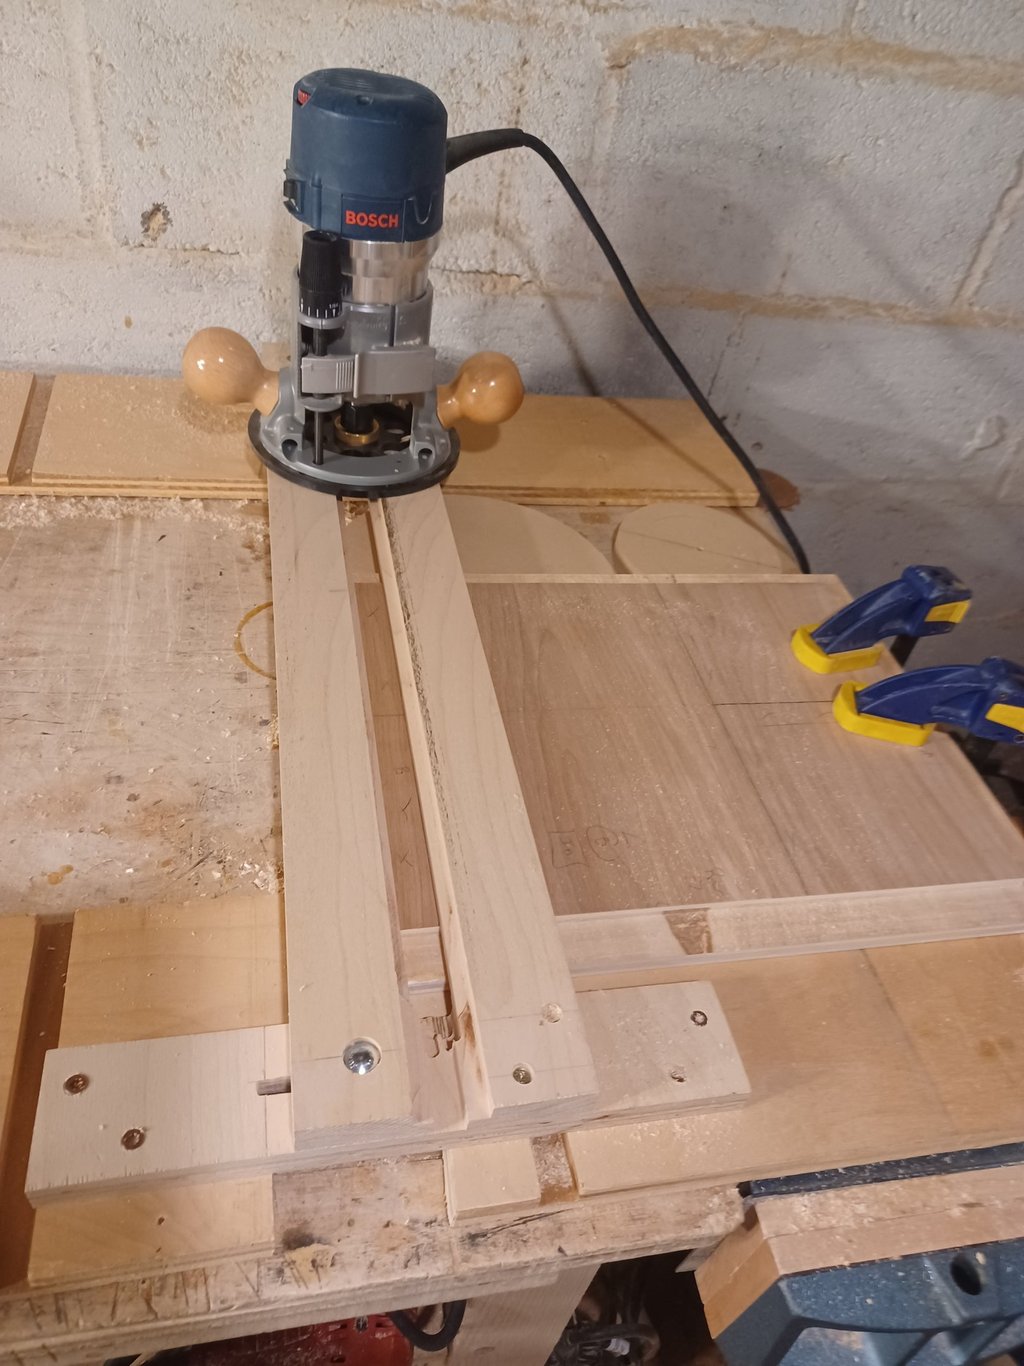
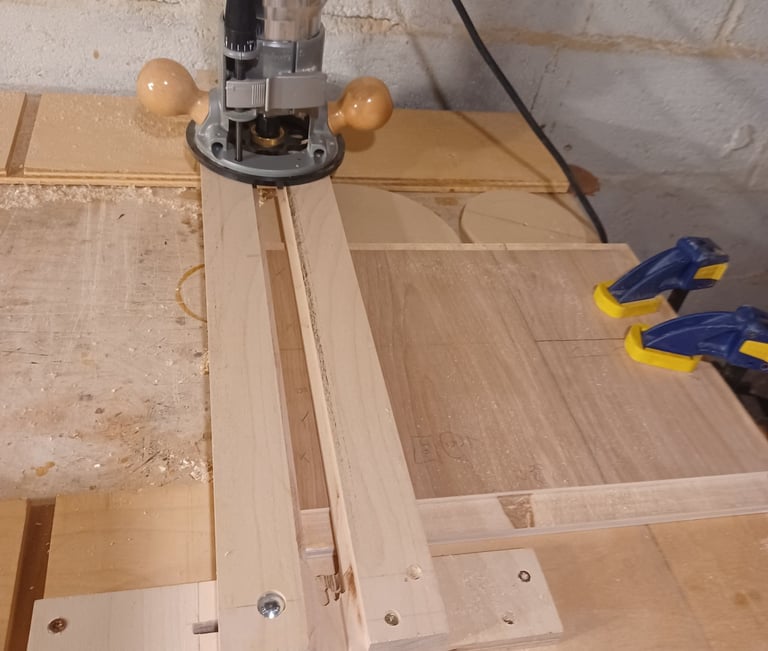
Home made dado jig in action. It takes multiple passes and makes plenty of chips.
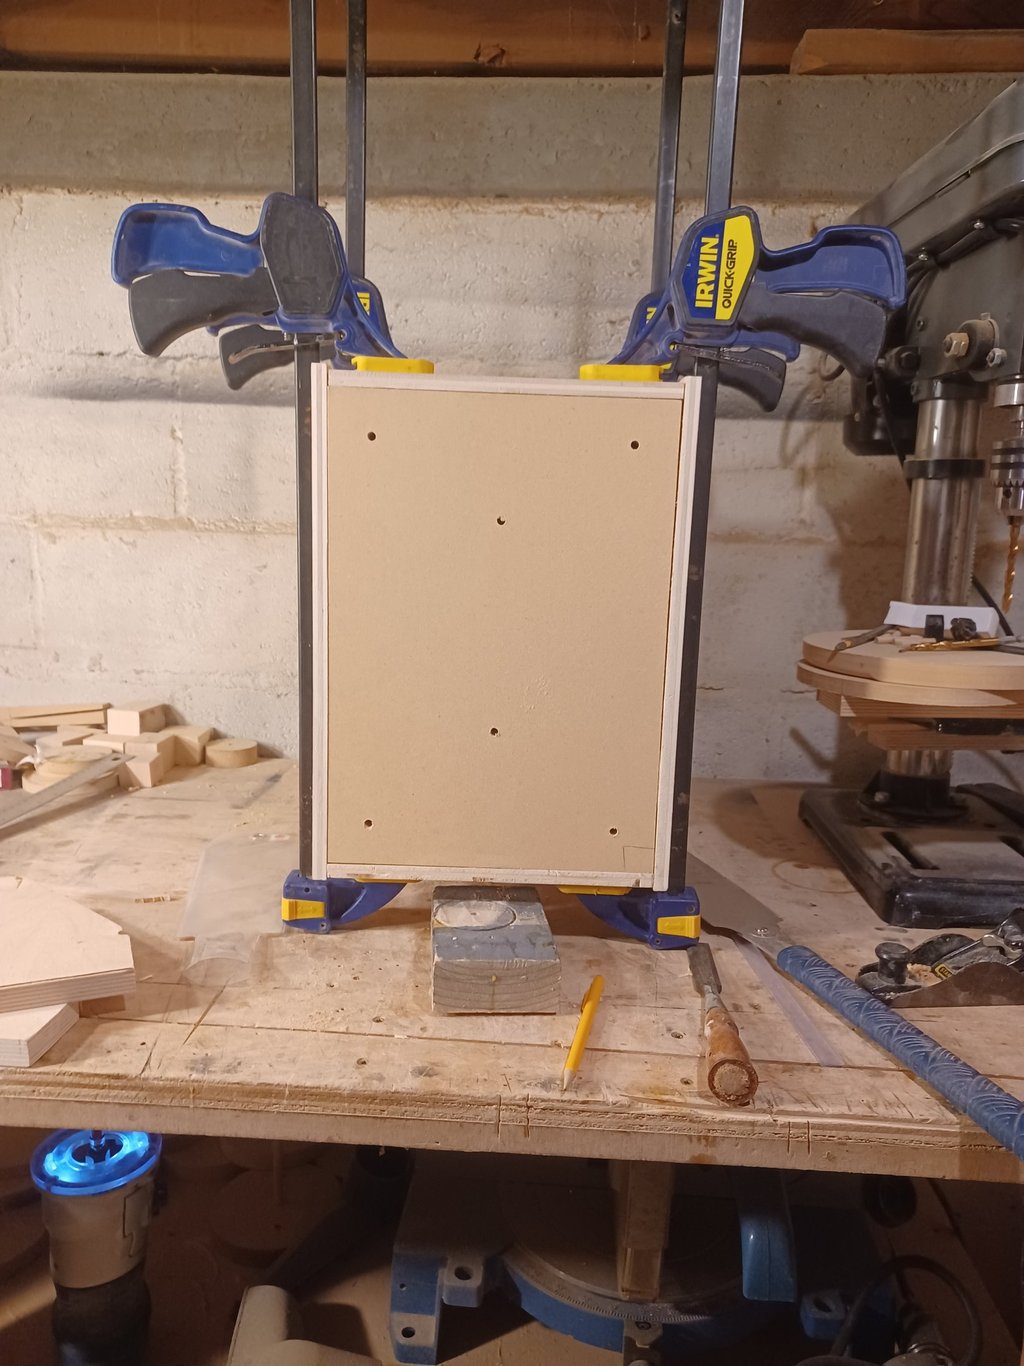
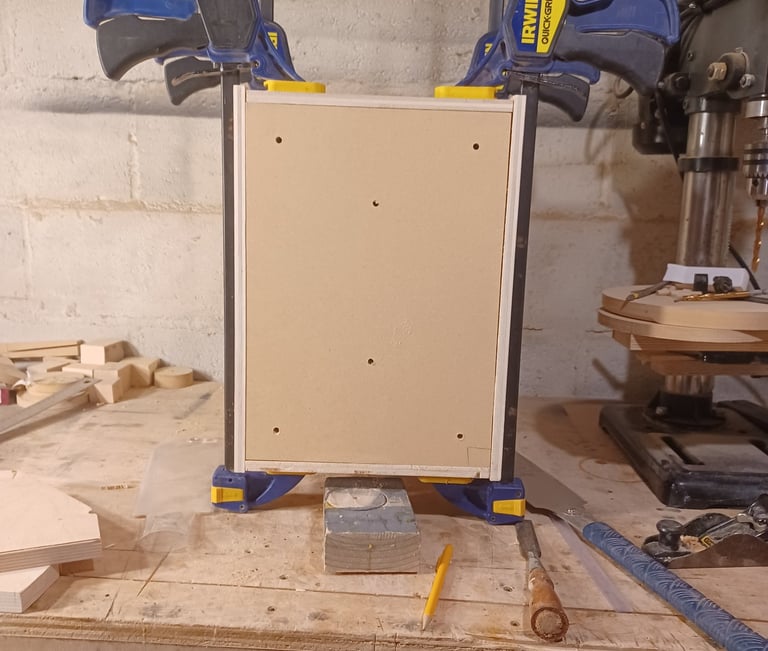
Near as I can tell this technique my own invention. My home-made circle jig uses a 1/4 inch dowel as the center pivot so I clamp the inner and out baffles together and drill 1/4 inch holes for the center of each driver cutout. Next I peg the two baffles together with dowels and drill four more 1/4 inch holes through the inner baffle and part way through the outer baffle. These makes the glue up of the outer baffle a breeze.
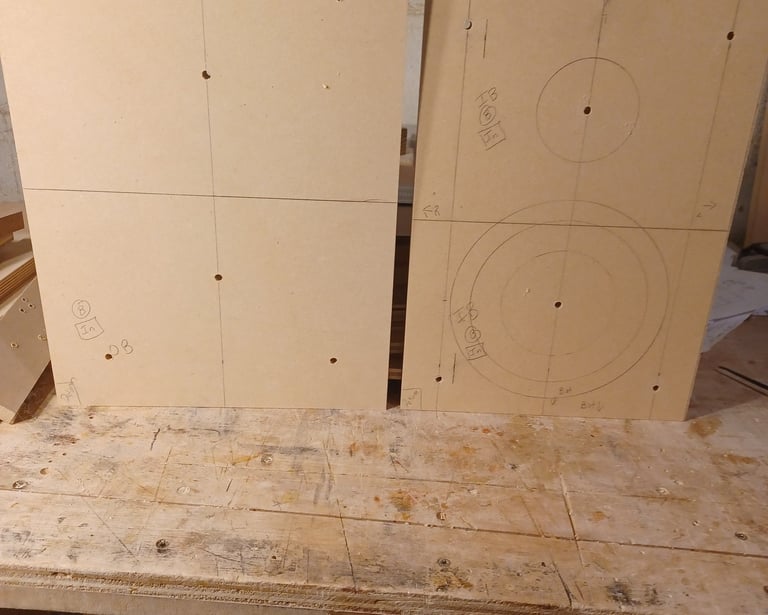
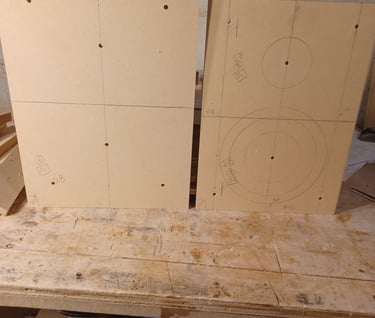
Baffle Alignment Holes
Dry Fit
Possibly one of the most import steps, do it many times during the build, no sense in waiting till just before glue up to find out you need to remake something. This is the time to make fine adjustments with hand tools.
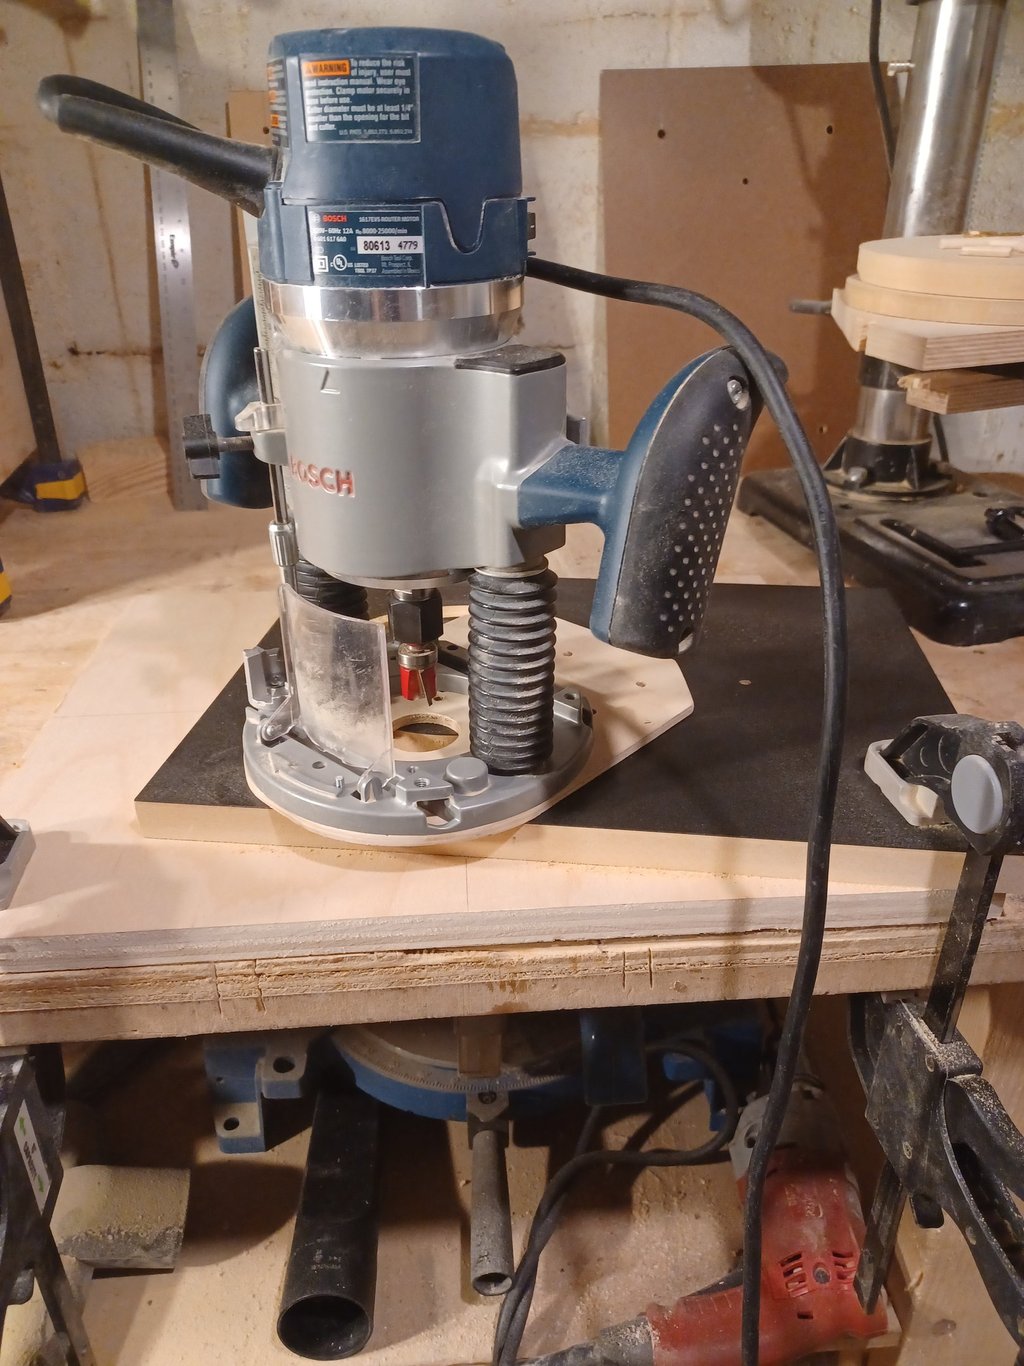
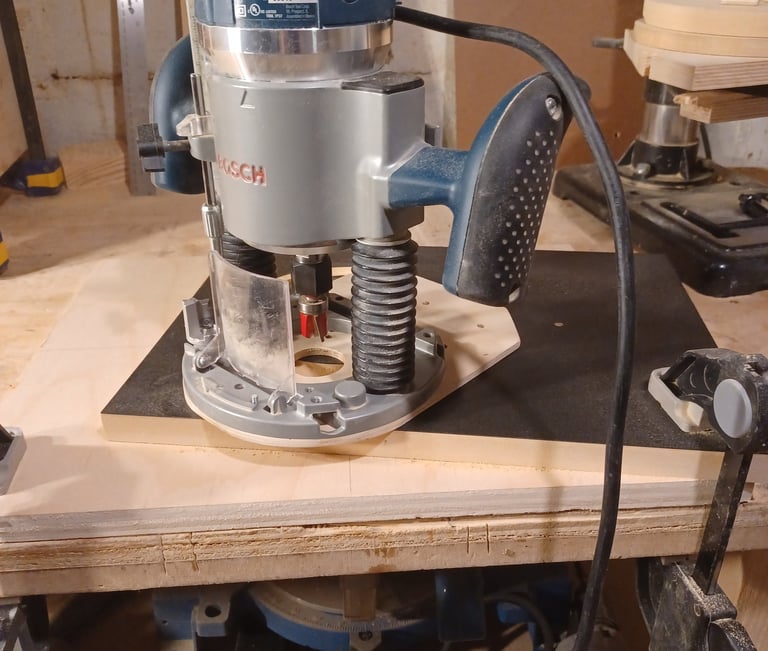
Driver Cut Outs
I use my home made circle jig which I like for several reasons, it was free, I can use 1/4 dowels and by drilling holes underneath the router base I can make smaller holes than the a store bought jig can. I will cut the driver rebate first with a 1/2 inch bit and comeback with a 1/4 inch up spiral bit to make the cutout. In the picture I am cutting the outer baffle that I already laminated with Formica so I don't have to worry about trimming the laminate in the driver rebates.
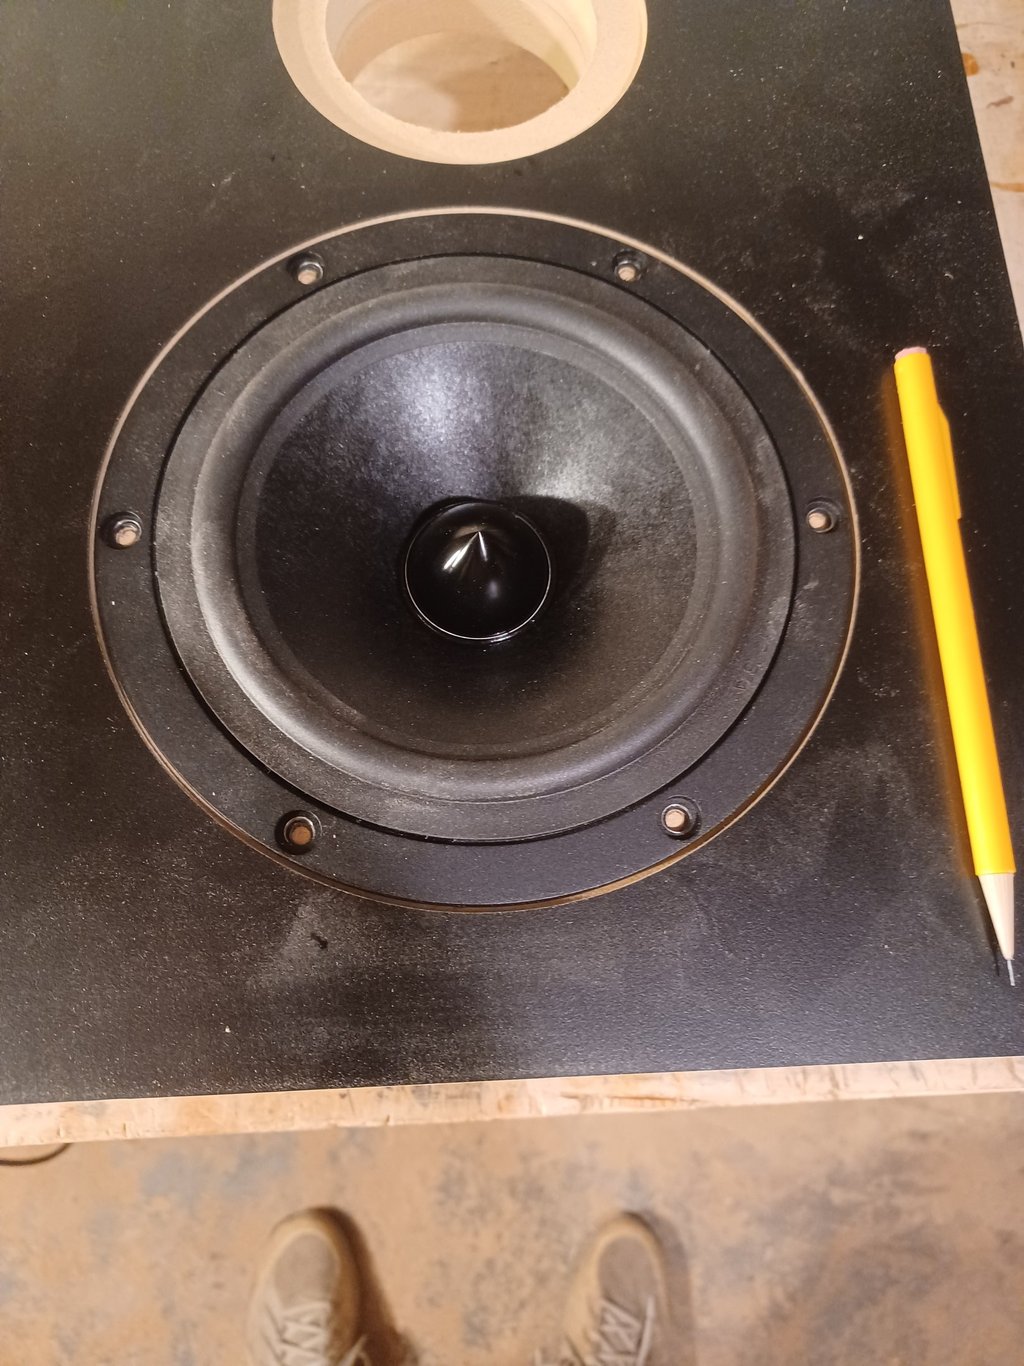
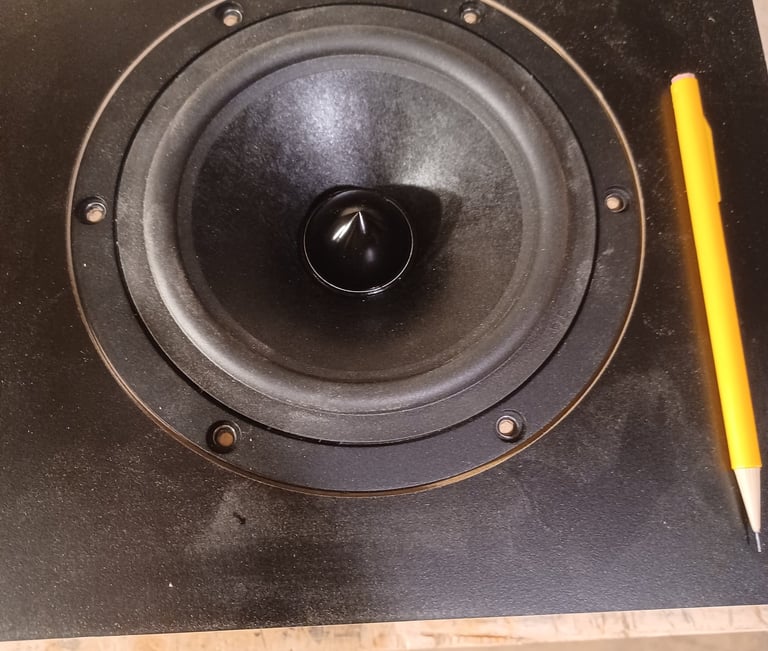
Driver Mounting Hole Layout
Once the driver cut outs have been completed I will simply lay the drivers in the baffle and mark the positions for the mounting holes with a pencil. This is simpler then trying to lay them out by measuring. I mount woofers and mid range drivers with T-Nuts and Allen cap bolts and tweeter with screws.