How I Design And Build a Loudspeaker Page 3
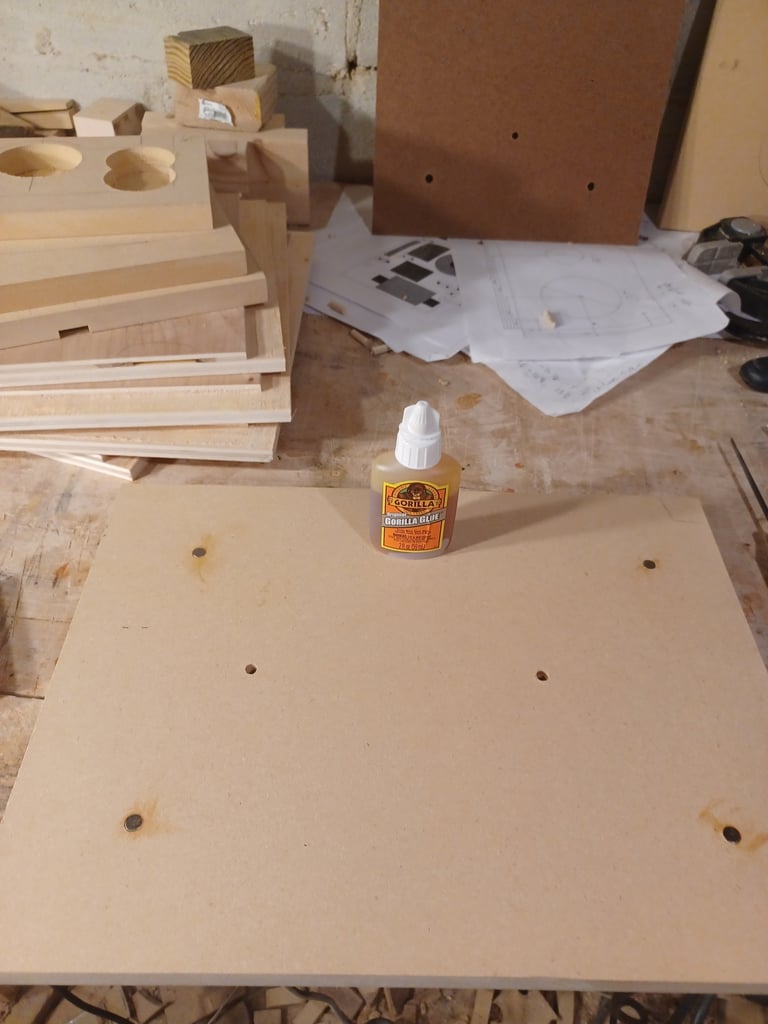
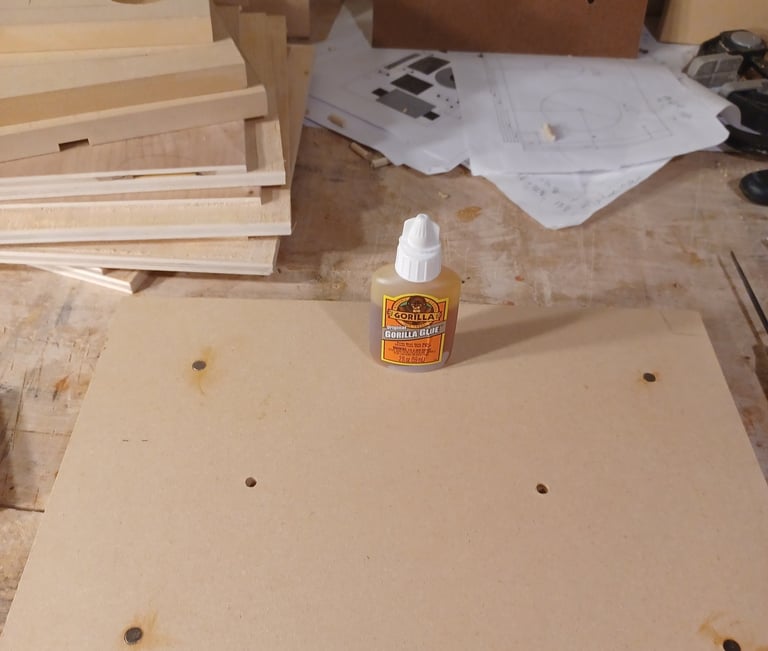
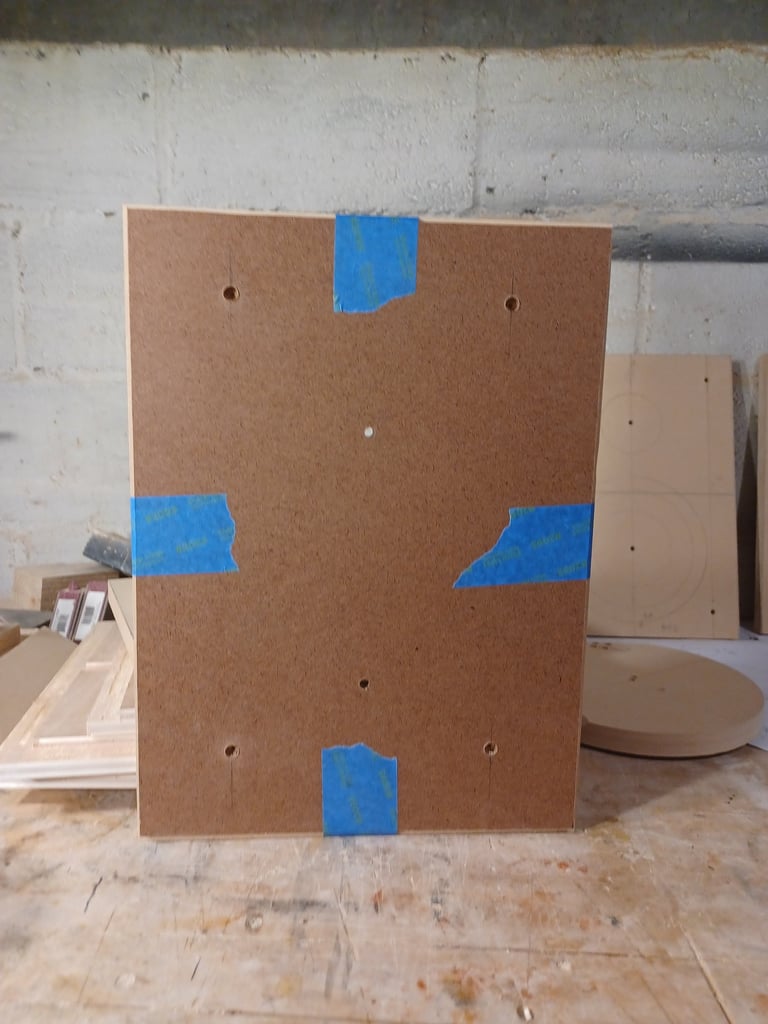
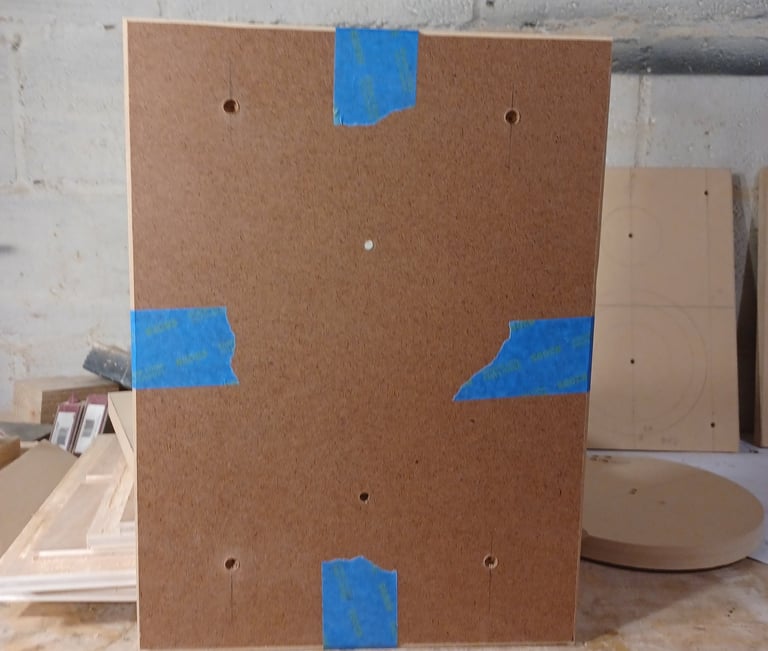
I like to add grills which are attached by using 10mm rare earth magnets. I use the driver cut out center holes to align some 1/8 inch hard board with the outer baffle. I then drill 4 10mm holes through the hard board and deep enough into the outer baffle to bury the magnets. Then I use the router circle jig to make the holes in the grills. The photograph to left show Gorilla glue for the magnets, this was a mistake because the glue expands and pushed the magnets out, use a non-expanding glue such as WeldBond.
Because I use two layers of MDF for the baffles something needs to be done to allow woofers and mid range drivers to breath. This is solved by scalloping and beveling the inside of the inner baffle. I leave the flats around the mounting holes to secure the T-Nuts.
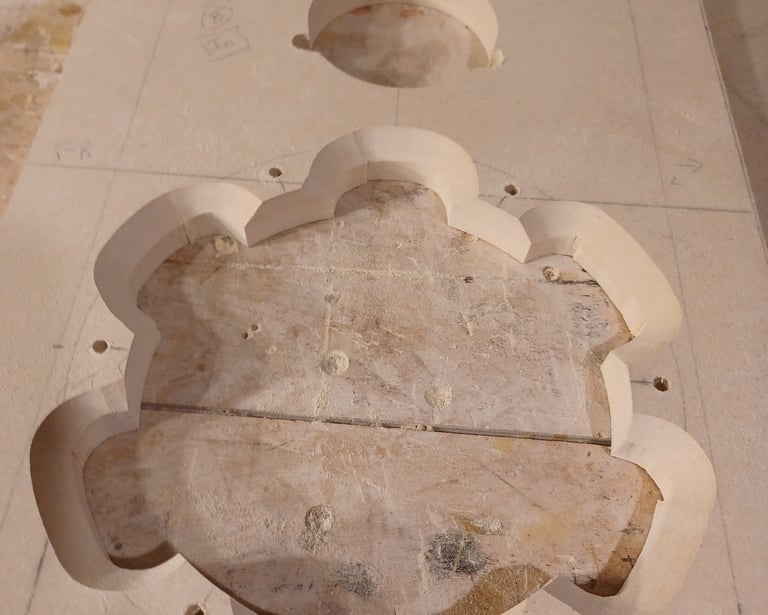
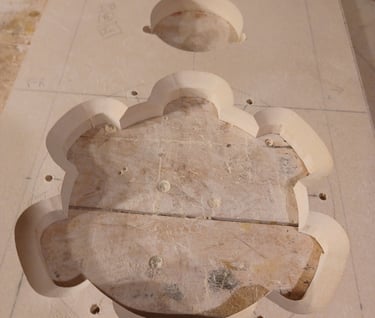
Drivers Need to Breath
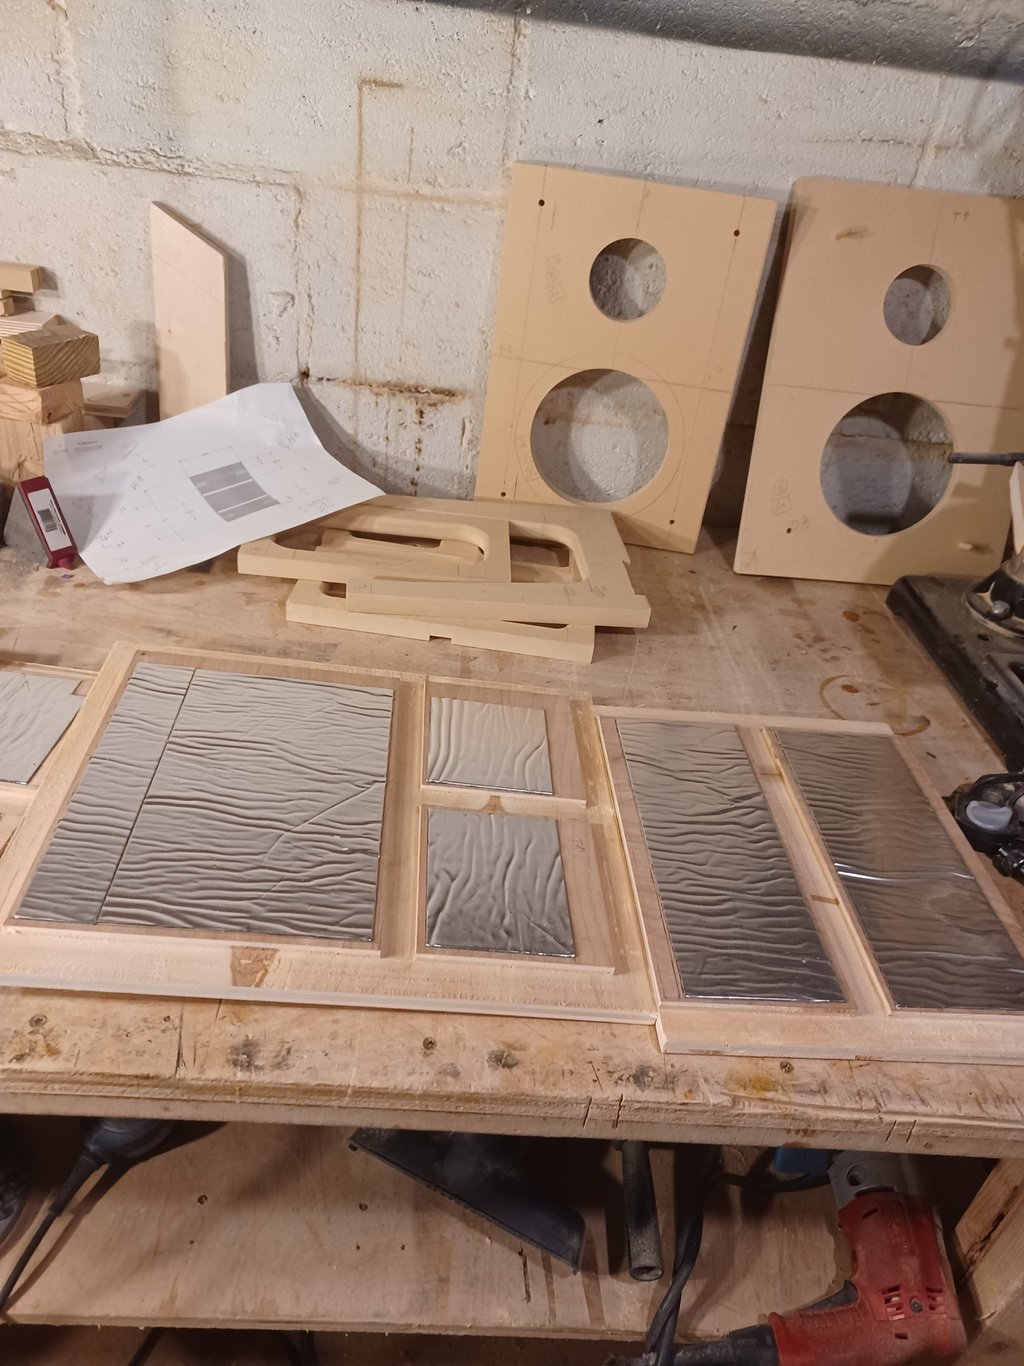
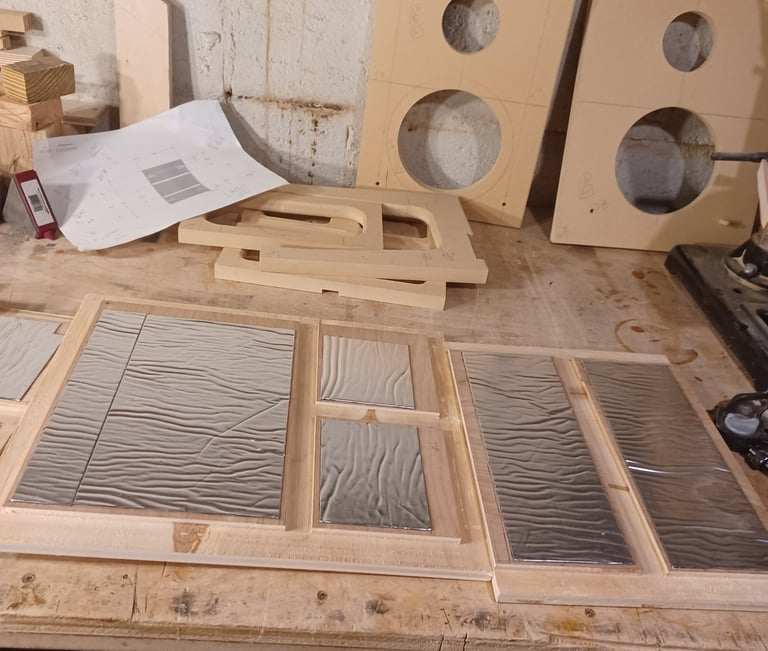
Panel Dampening
I use a roof patching product to add addition dampening on the inside of the panels. It comes in 6 inch wide roles, cuts easily and self sticks to the panels. I use a J-roller adhere it a best as I can.
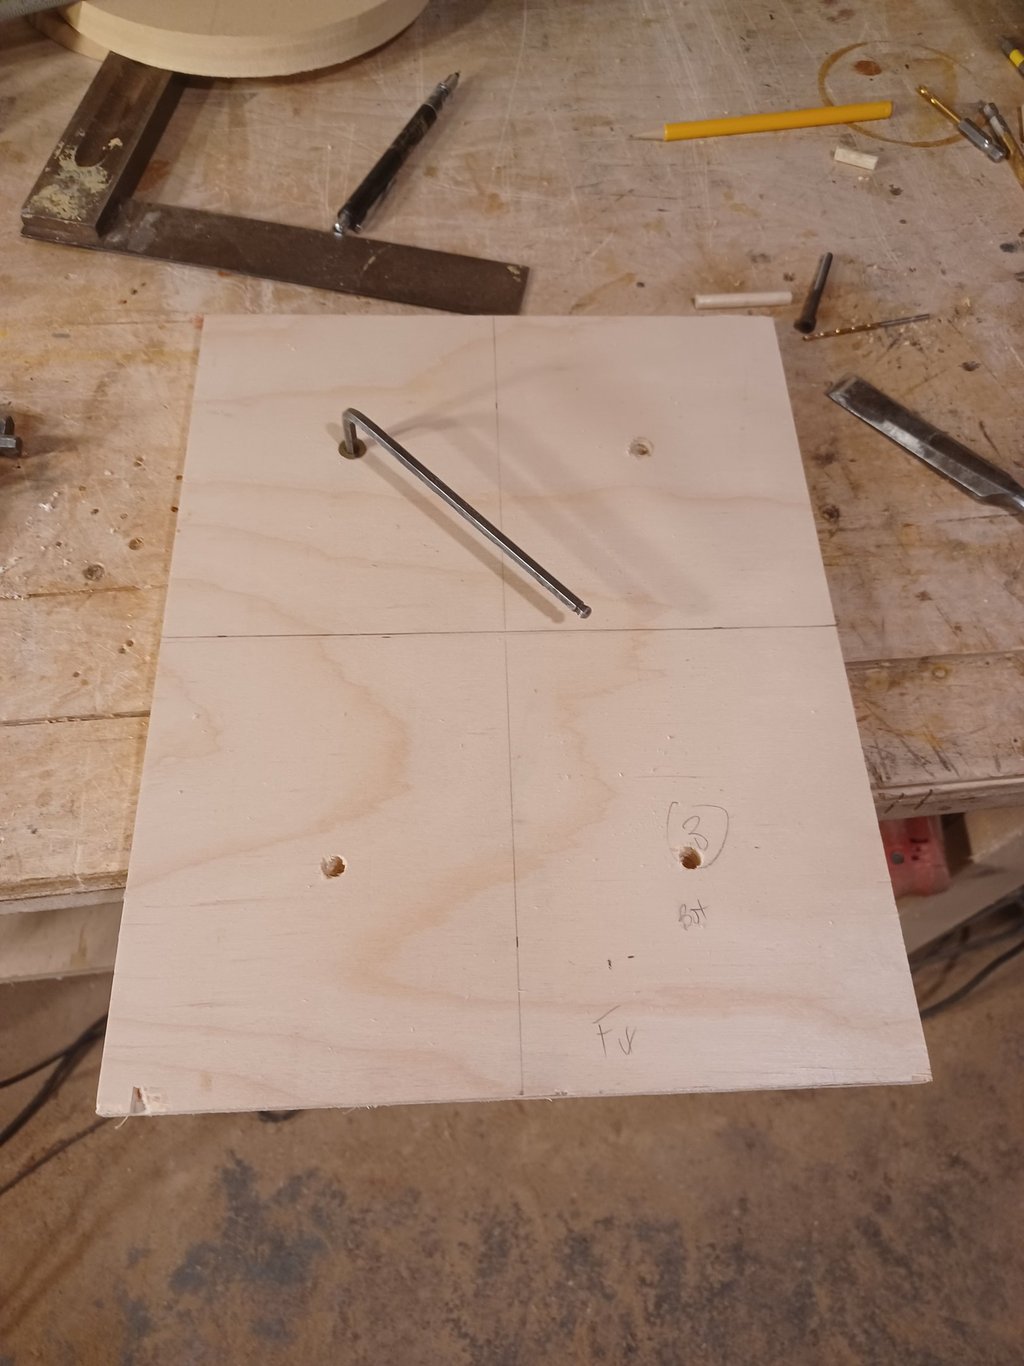
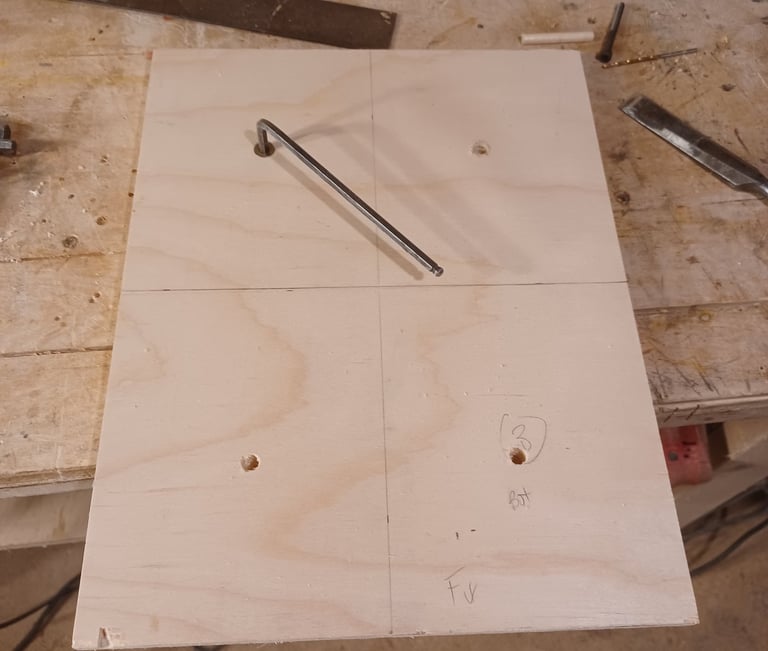
Option for Stands
If there will be a matching stand I will align and stack the top plate of stand with the bottom panel of the speaker enclosure. Then pilot holes are drilled through the stand top plate and part way into the bottom panel. Next the pilot holes in the bottom panel can be enlarges to support 10-32 threaded inserts.
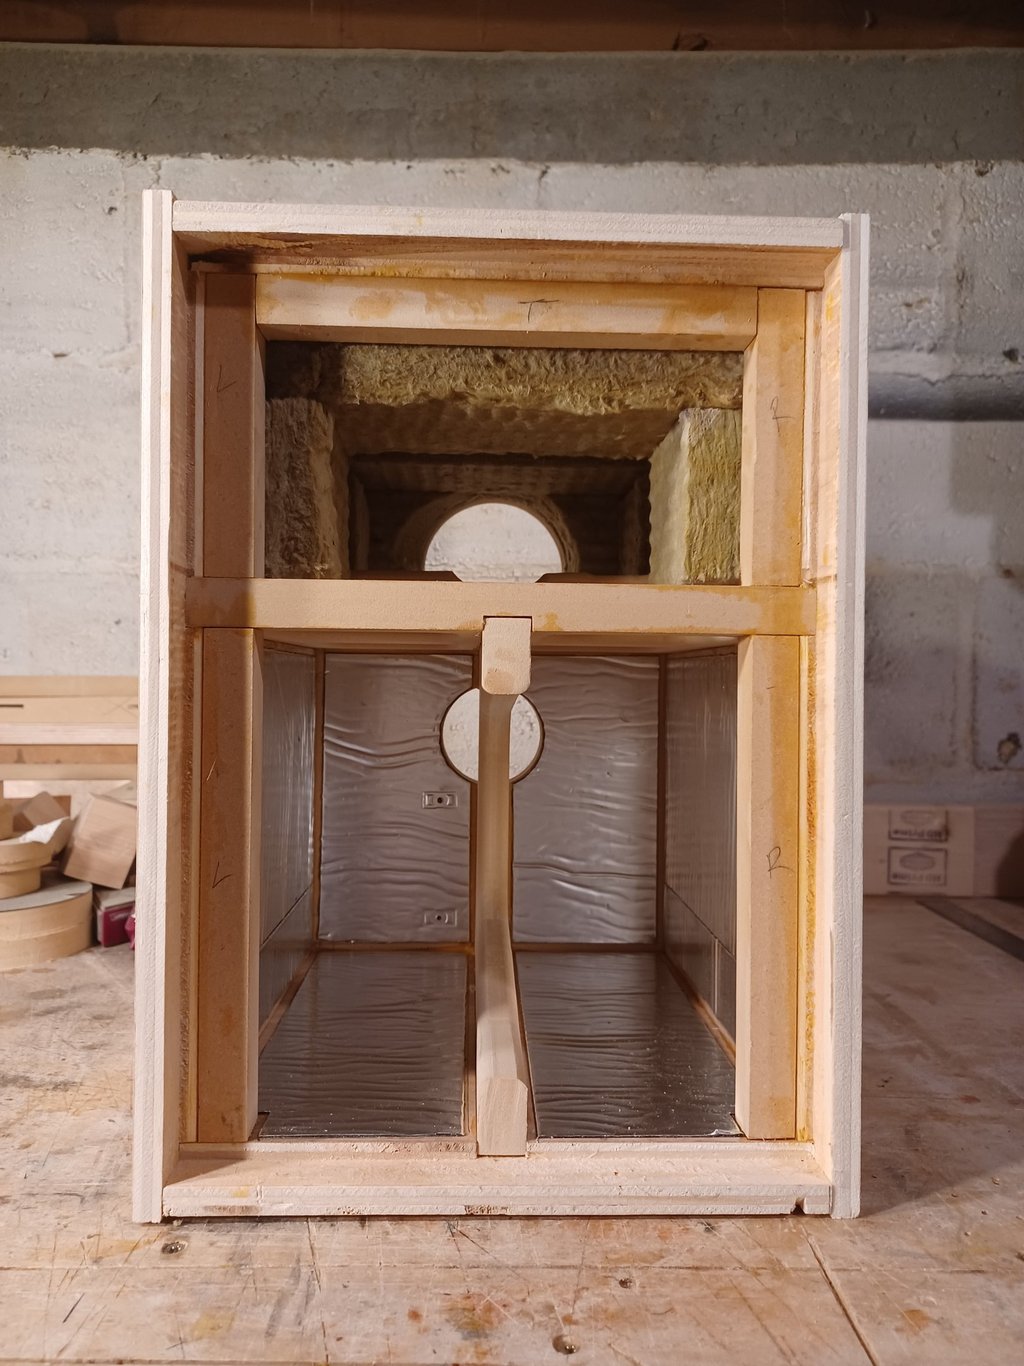

1st Glue Up
This is the scary part, it is best to do a dry run first. Lay the panels out on the bench, get out all the clamps and put the enclosure together, it will give you insight into the best way to proceed. This first glue up is big and complicated. Some folks like to glue a few panels at a time, but I prefer to get everything but the baffles glued up in this first step. It saves time and I seem to be able to keep the box square this way. I will start by applying TiteBond II into all the rabbets and dados. With one of the side panels sitting on blocks on my work bench I will install the braces. This will help keep everything square and keep the panels stuck together until they can be clamped. Next the top, bottom and back panel can be glued in. Lastly the other side can be attached. Now clamps are placed between the sides and the back panel using blocks in the front. I learned not to place clamps between the top and and bottom panels which will distort the panels and cause the box to rock. Lastly notice I have added rockwool in the upper chamber.