How I Design And Build a Loudspeaker Page 1
This is a very detailed guide to DiY loudspeaker design and build, most useful for a novice, but there might be a few things of interest to an experienced builder. Like most everyone else in the DIY loudspeaker community I start with some design goals. For example, intended use, physical size limits, budget and performance goals. Once these have been determined I will search for suitable drivers and make a initial baffle layout. At this point I will use WinISD to model the bass enclosure and VituixCAD2 to start modeling a complete design. I will do this with the manufacture's data unless I happen to already have measured the drivers myself. This process will go on for a long time trying different drivers until I land on something I like.
Once I have finalized my driver choices I will buy one of each driver to put in a test enclosure. I get just one each in case I don't like the results of the test. An additional benefit of ordering a single set of drivers is the flexibility of adding the second driver to an order to reach the free shipping limit from MadiSound or Parts Express. My test enclosures are very primitive using whatever scrap MDF I have and building the rest of the box out of cardboard. Once the text box is built I will use a DSP to take measurements with REW and make listening tests.
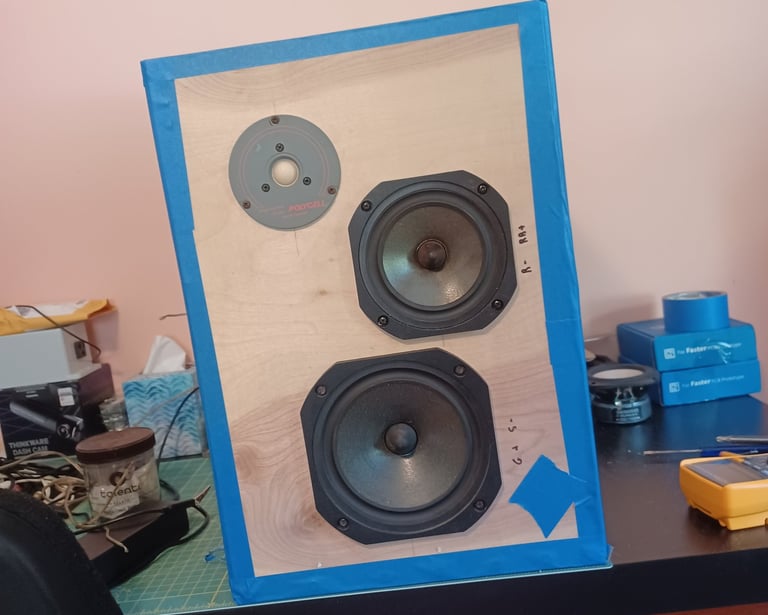
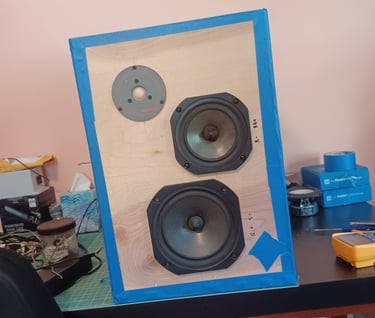
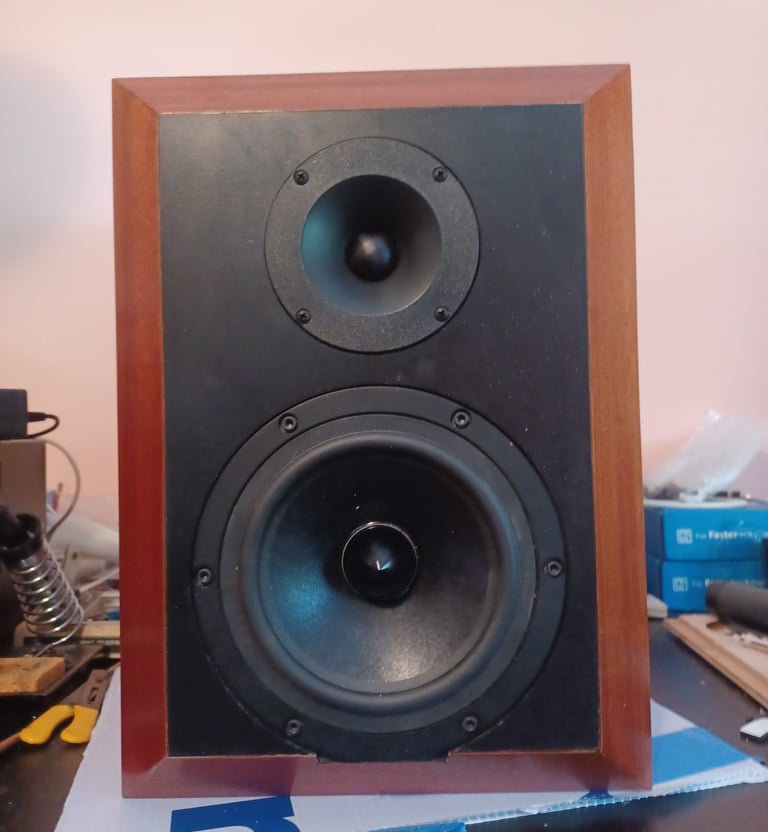
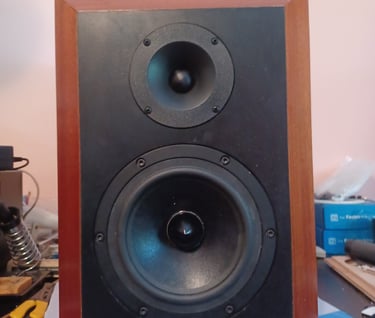
The Test Enclosure
Enclosure Design
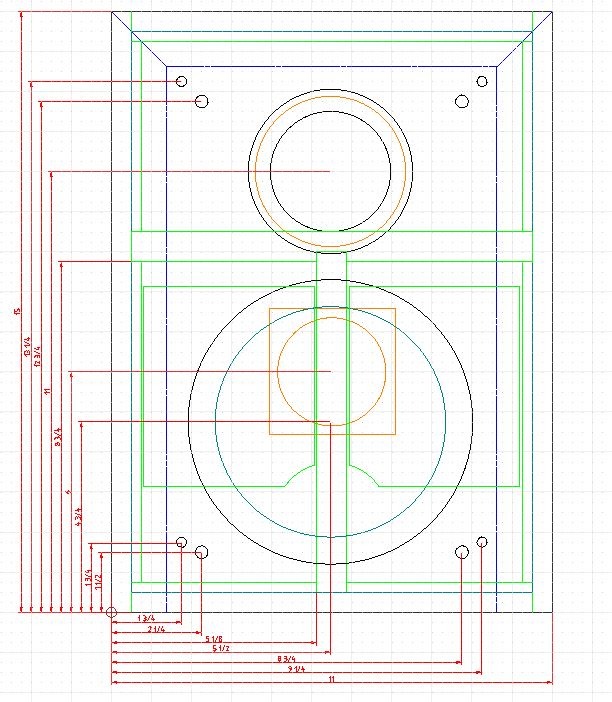
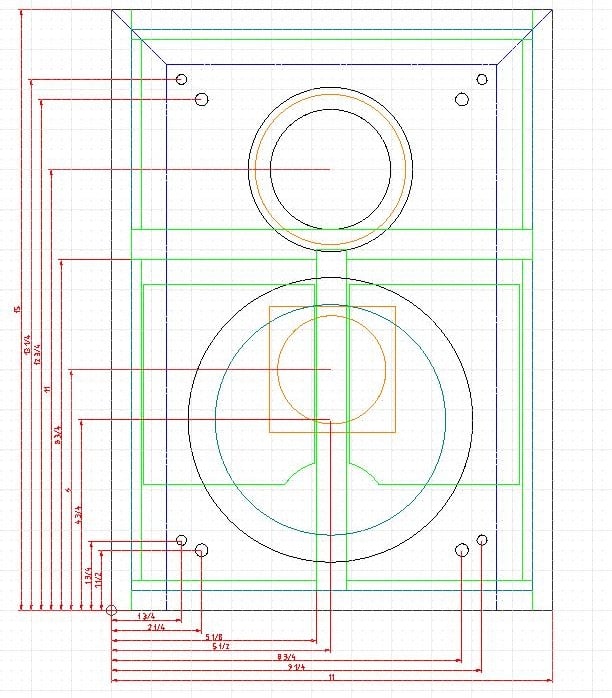
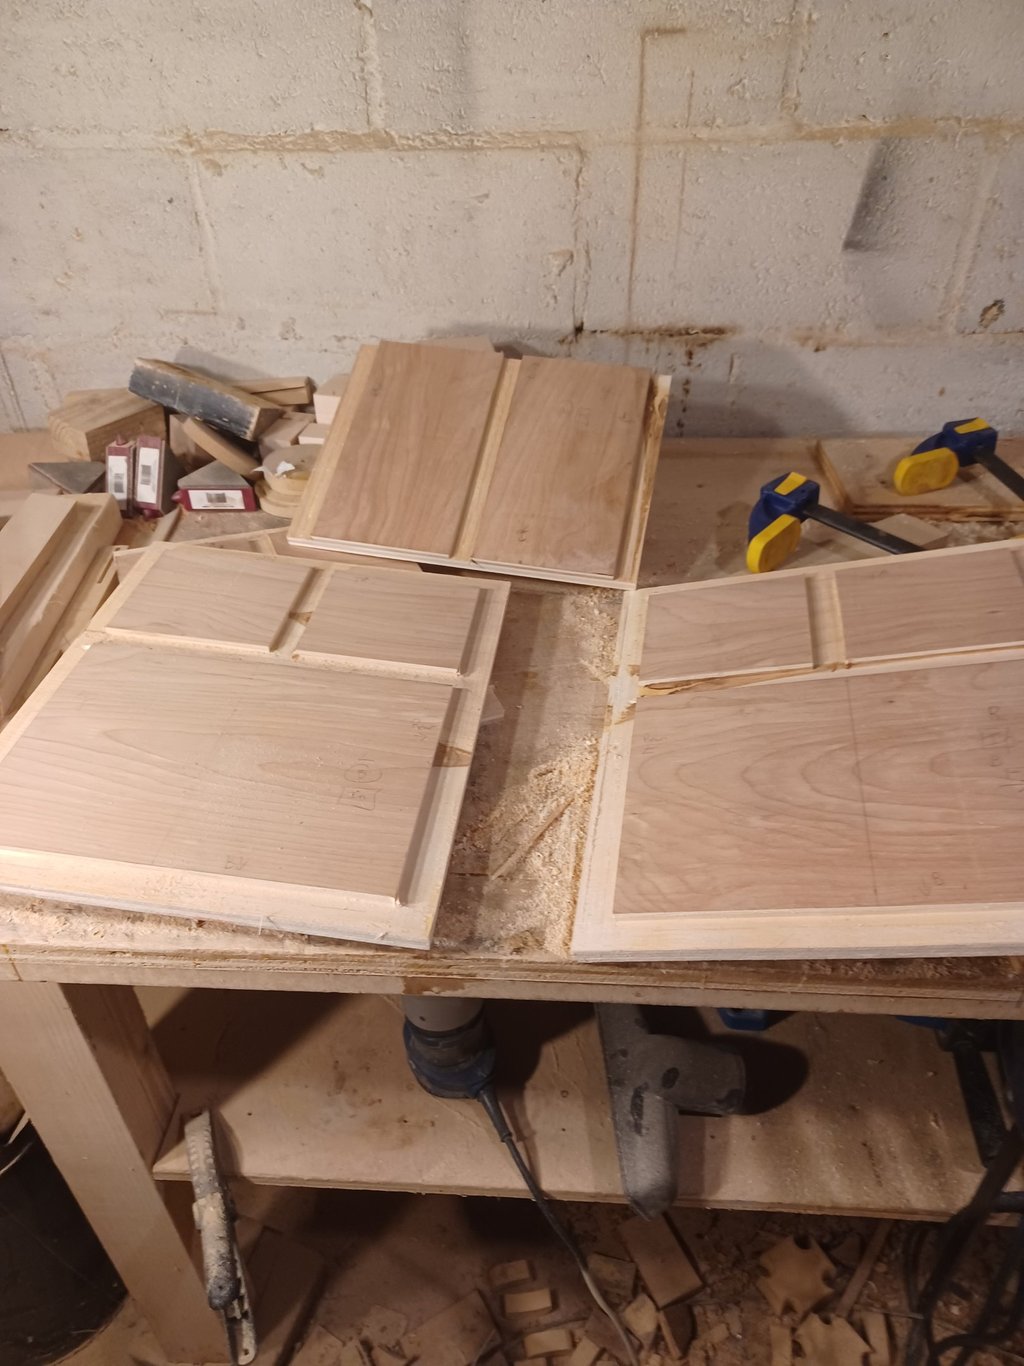
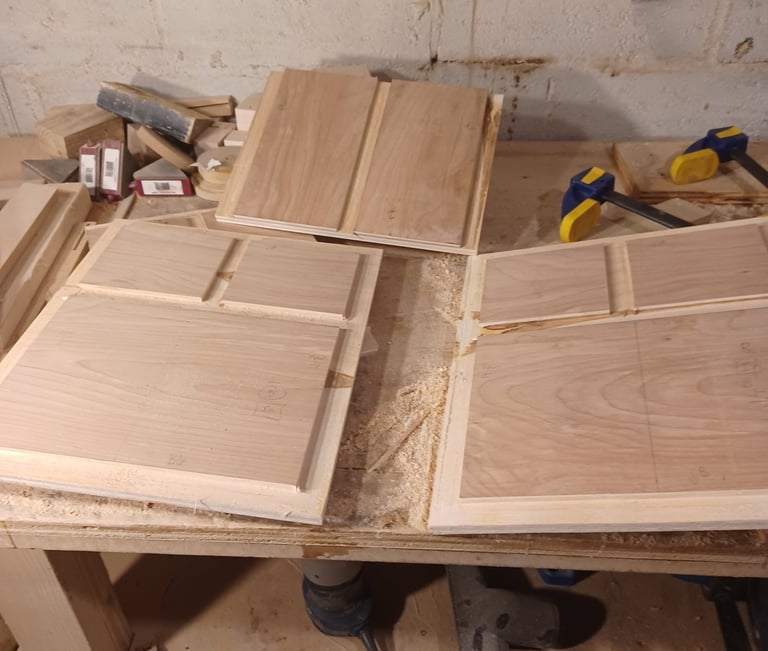
If I'm satisfied with the results from the test enclosure it is time to design the real enclosure. This process will take me a few days with the reasonable priced 2D drafting package QCAD. All my cabinets are put together in a similar way with rabbet joints, matrix style braces and dual layer baffles. Generally I will make my baffles and back panel from MDF, the sides, top and bottom from Baltic birch plywood and the braces from which ever I have enough leftovers. I use 1/4 dowels as pegs for the baffles to align perfectly.
Panel Layout
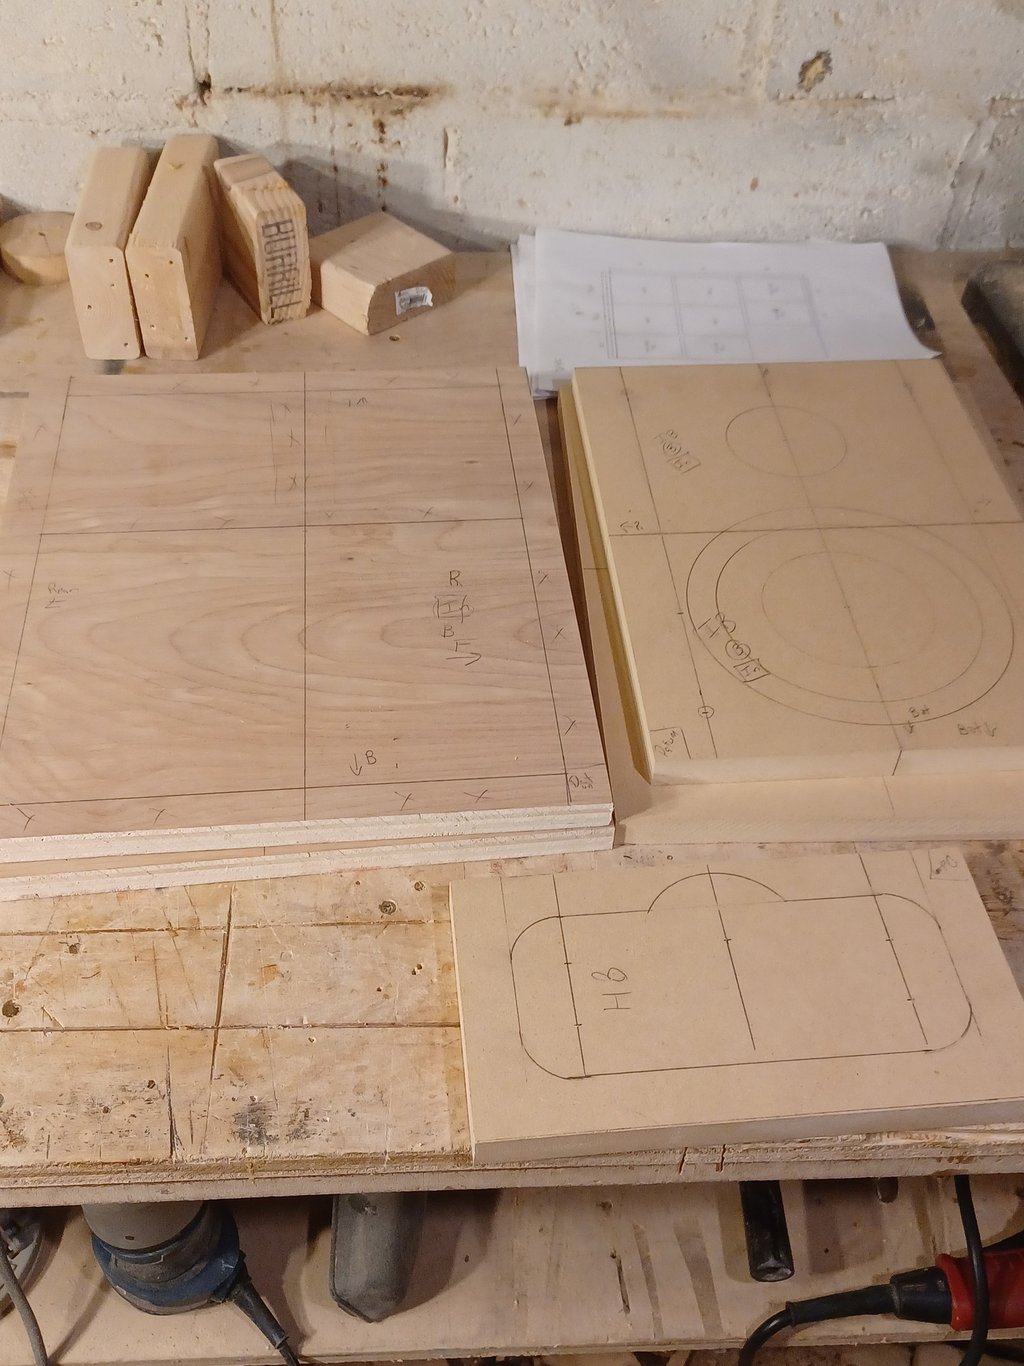
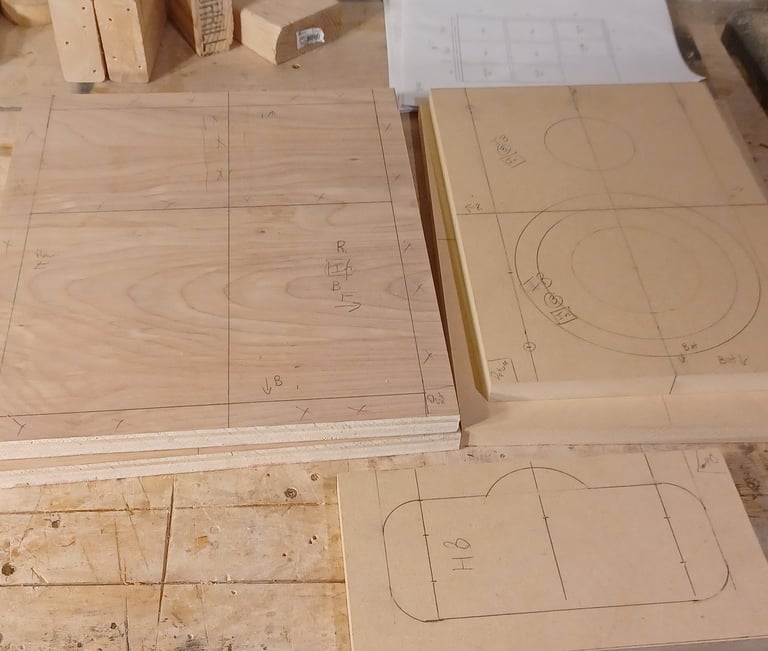
I will cut all the panels for at least one enclosure on my prehistoric Craftsman table saw I bought on Craigslist. I usually cut the sides, top and bottom panels oversized and will use a trim router later to make perfectly flush corners. The next step is to layout all the cuts, rabbets, driver cutouts and alignment holes with an 18 inch Incra T-Rule and a compass. I high recommend the Incra T-Rule, it isn't cheap but it is incredibly accurate and fast.
Panel Milling
I use a home made dado jig, router, 1/2 inch router bushing and a 1/4 inch up spiral bit to make the rabbets and dados using the layout lines. Because the panels are cut over-sized the critical dimensions are the inside edges of the rabbets and I index the dados from the lower left inside corner of the rabbet. Set the jig width to match actual thickness of the MDF or plywood, my drawings use 3/4 inch thickness, but every type of sheet good has a different thickness. I use size blocks to set the router bit depth to 1/4 inch.